Ticketing for computer statuses
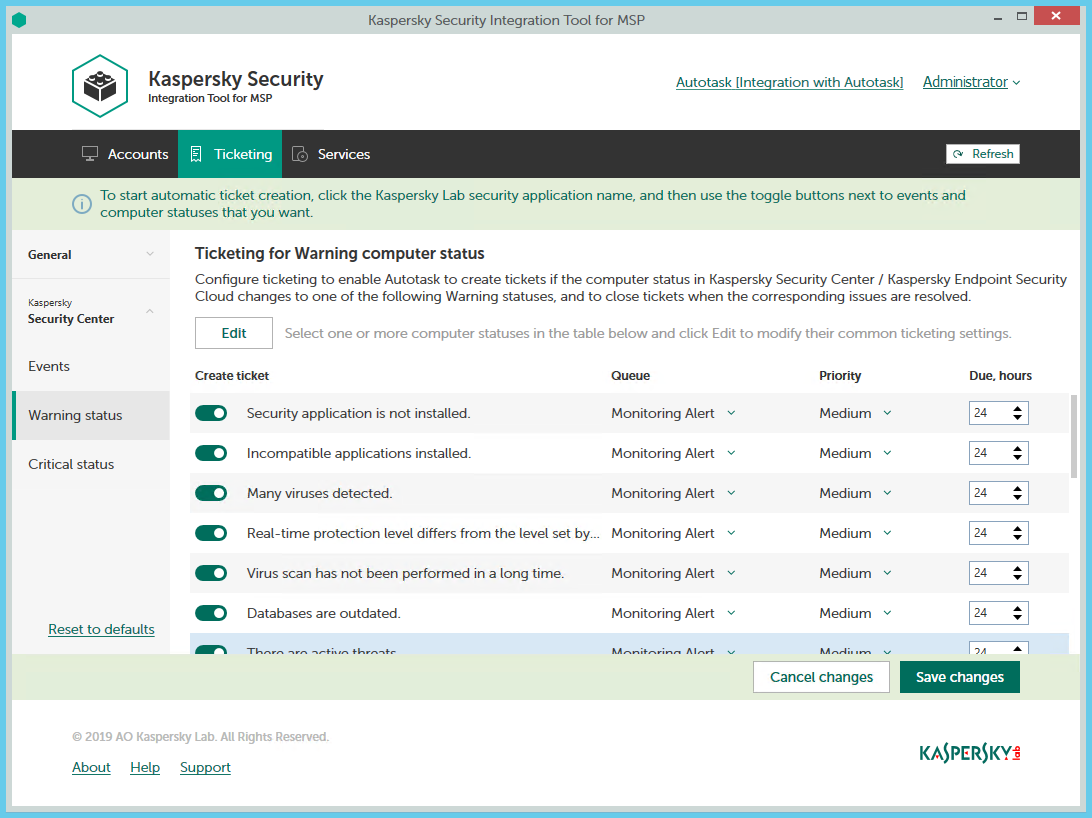
On the Ticketing tab, you can configure ticketing rules for the computer statuses. This allows tickets to be created in Autotask when the computer status in Kaspersky Security Center or Kaspersky Endpoint Security Cloud changes to Warning or Critical. You can edit ticketing settings either for an individual computer status or for several statuses at the same time.
Configuring ticketing for computer statuses
To set up ticketing for computer status:
- In the Kaspersky Security Integration Tool for MSP window, click the Ticketing tab.
- In the left pane, select the Warning status or Critical status section to configure ticketing for computer statuses.
- Do one of the following:
- To configure ticket creation for one status, use the toggle button in the Create ticket column to enable ticket creation for the corresponding status change. In the Queue, Priority, and Due, hours columns, edit the settings as required.
By default, ticket creation is disabled for all computer status descriptions.
- To configure ticket creation for one or several statuses simultaneously, select the lines that contain the required status description, and then click the Edit button above the table. The Ticketing settings for computer status change window opens.
Editing ticketing settings for multiple computer statuses is useful if you want to assign the same ticketing settings to these computer statuses. If you want the ticketing settings to be different, edit them individually for each computer status.
You can edit the following ticketing settings:
- On / Off (or, in the main window, the toggle button)—Enable or disable ticket creation for the selected status changes.
- Queue—Select the queue in which to put the created ticket. The drop-down list contains the names of the Autotask queues. By default, the tickets are put in the Monitoring Alert queue. This setting is required.
- Priority—Select the priority level for the tickets created in Autotask. Assigning priority levels to the tickets created for computer status change is used to prioritize corresponding Autotask tickets. The ticket priority allows you to respond to the issues in order of their importance, so that more urgent problems can be resolved sooner. The default priority for Critical computer statuses is Critical, and for Warning computer statuses it is Medium. If one of these basic priority values is deleted in Autotask, the default value is blank. This setting is required.
- Due—Specify the time interval during which the ticket issue must be resolved and the ticket must be closed. The default value for Critical computer statuses is 12 hours, and for Warning computer statuses it is 24 hours.
- Work type—Select the work type to be assigned to the ticket. This setting is present only in the Ticketing settings for computer status change window.
- Issue type—Select the Autotask issue type to be assigned to the ticket. This setting is present only in the Ticketing settings for computer status change window.
- Issue subtype—Select the Autotask issue subtype to be assigned to the ticket. This setting is present only in the Ticketing settings for computer status change window.
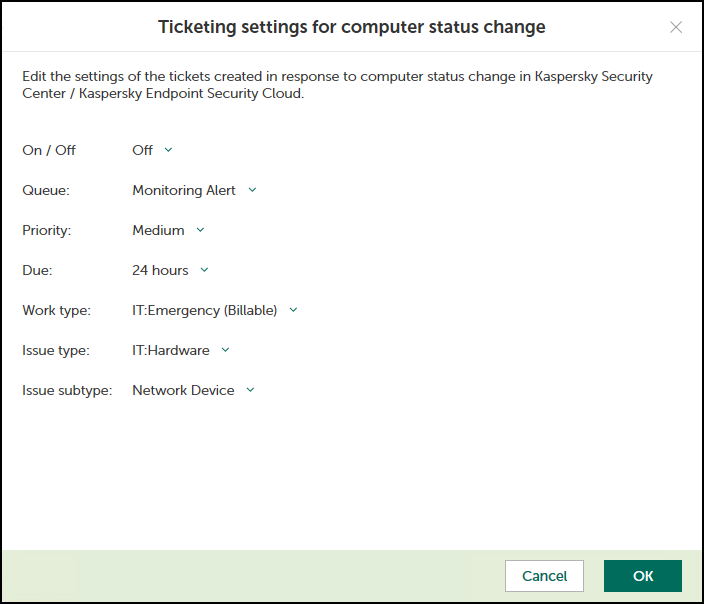
Ticketing settings for computer status change window
- To configure ticket creation for one status, use the toggle button in the Create ticket column to enable ticket creation for the corresponding status change. In the Queue, Priority, and Due, hours columns, edit the settings as required.
- When you finish configuring ticketing for computer statuses, click the Save changes button to save the ticketing settings.
Ticketing for computer statuses is configured and Autotask tickets will be created in accordance with the specified rules.
Kaspersky Security Integration Service for MSP can create Tickets only for active Autotask accounts. Therefore, make sure that the Active check box is selected in the account properties.
You can cancel changes and reset ticketing settings to their last saved values.
To cancel changes of ticketing settings and restore last saved values:
- Open the Ticketing tab.
- In the left pane, click the Kaspersky solution name, and then select the Warning status or Critical status section.
- Click the Cancel changes button.
You can also reset ticketing settings to their default values.
To reset ticketing settings to their default values:
- Open the Ticketing tab.
- In the left pane, click the Kaspersky solution name, and then select the Warning status or Critical status section.
- Click the Reset to defaults link.